
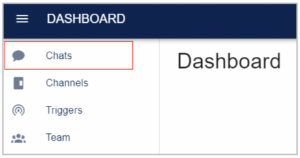
To view the chats, you may need to select Chats from the menu panel on the left.
You will now be able to view the WhatsApp bot chats happening with the users.
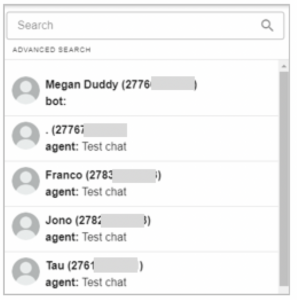
Select/click on the user to view the full chat.
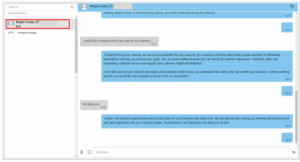
To send the client a WhatsApp message, simply type in the chat block provided and click send.
Note: You should only send a message to a user once they have completed the bot flow. DO NOT SEND AGENT MESSAGES DURING BOT CHATS as you could interfere with the bot flow and cause confusion.
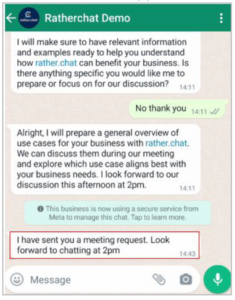
As the consultant, you are typing the WhatsApp message in the rather.chat Desktop App, but the client will receive the message in WhatsApp.
CONSULTANT VIEW
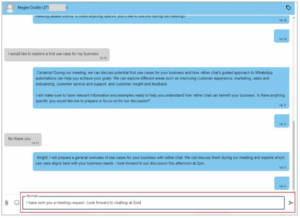
CLIENT VIEW
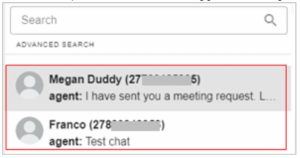
To search for a particular user’s chat, click on the search bar at the top of the chat inbox.
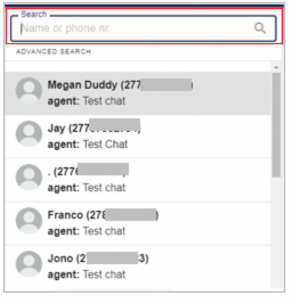
Then type in the name or phone number of the user (remember, the phone numbers always start with a prefix, for example 27760123456).
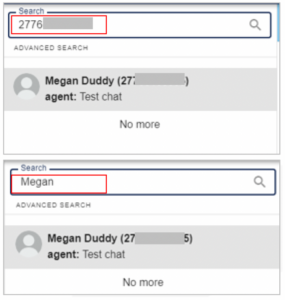
To go back to viewing all chats in the inbox, just clear the text from the search box.
To allocate a tag to a user’s chat, select the tag icon in the top right corner and select the applicable tag box

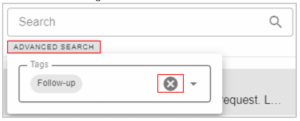
Once tag/s are applied to chats, to see all those specific chats, select ADVANCED SEARCH and click on Tags
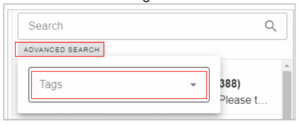
Then select the category of tagged chats that you would like to see

It will now only show chats that are tagged according to the selected tag
To go back to viewing all chats, just select ADVANCED SEARCH and select the X next to the selected tag filter
How to find the code snippet for your website WhatsApp bubble
You would have been sent your website WhatsApp bubble code snippet via email. In case you have misplaced it or need to access it again in future, you can retrieve it here:
Start by selecting Channels from the menu panel on the left.
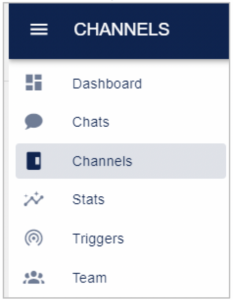
Click on the 3 dots on the far right of the channel WhatsApp number.

Select Embed in Website
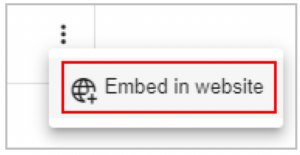
You are now able to copy the snippet by selecting Copy Code
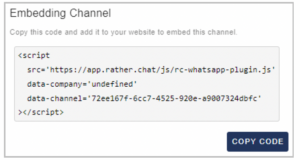
TO INSTALL: Add the code to your site’s header, between <head> and </head> tags, or in the theme editor or HTML header.
Adding and removing agent access to your chat inbox
You can have up to 3 agent logins in total for your chat inbox as part of the Lite product. To add additional agents, follow the below steps:
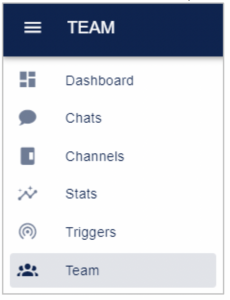
Select Team from the menu panel on the left.
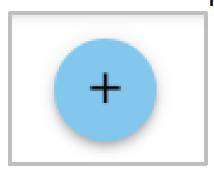
Select the plus sign on the far right of the screen
Type the email address/s of the user/s that you would like to add and select Send
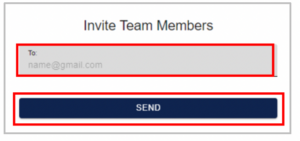
A notification will appear at the bottom of the screen to confirm that the invitation was successfully sent.
The user/s will receive an email invitation and will need to accept the invite and follow the First time login and setup instructions.
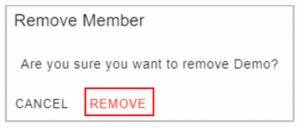
To remove a team member, select the – symbol next to the user (on the left-hand side of the screen)
![]()
Then select Remove
A notification will appear at the bottom of the screen to confirm that the user was successfully removed
